High-quality video lessons are a key factor in student engagement and course success.
Well-produced videos improve learning experiences, increase completion rates, and enhance course credibility.
However, recording and editing videos can feel overwhelming, especially if you’re new to the process.
This guide will walk you through the step-by-step process of recording and editing video lessons to create professional, engaging online courses.
Step 1: Plan Your Video Lessons
Before recording, planning is crucial to ensure your videos are structured, engaging, and easy to follow.
1. Define the Lesson Objective
Each video should have a clear goal. Ask yourself:
- What should students learn by the end of this lesson?
- How does this lesson fit into the course structure?
- What is the best way to present the content—talking head, screen recording, or slides?
If you’re still in the early stages of designing your course, check out this guide on structuring your course content to ensure your lessons flow logically.
2. Create an Outline or Script
A script helps eliminate pauses, filler words, and confusion during recording. However, if you prefer a natural delivery, a detailed outline with key points works well.
A typical script structure includes:
- Introduction – Greet students, introduce the topic, and state the learning goal.
- Main Content – Deliver information clearly, using examples or visuals to explain concepts.
- Summary & Call to Action – Recap key points and encourage students to complete an assignment or next lesson.
Using a teleprompter app (like Teleprompter for Video or BigVu) can help you read scripts naturally while maintaining eye contact.
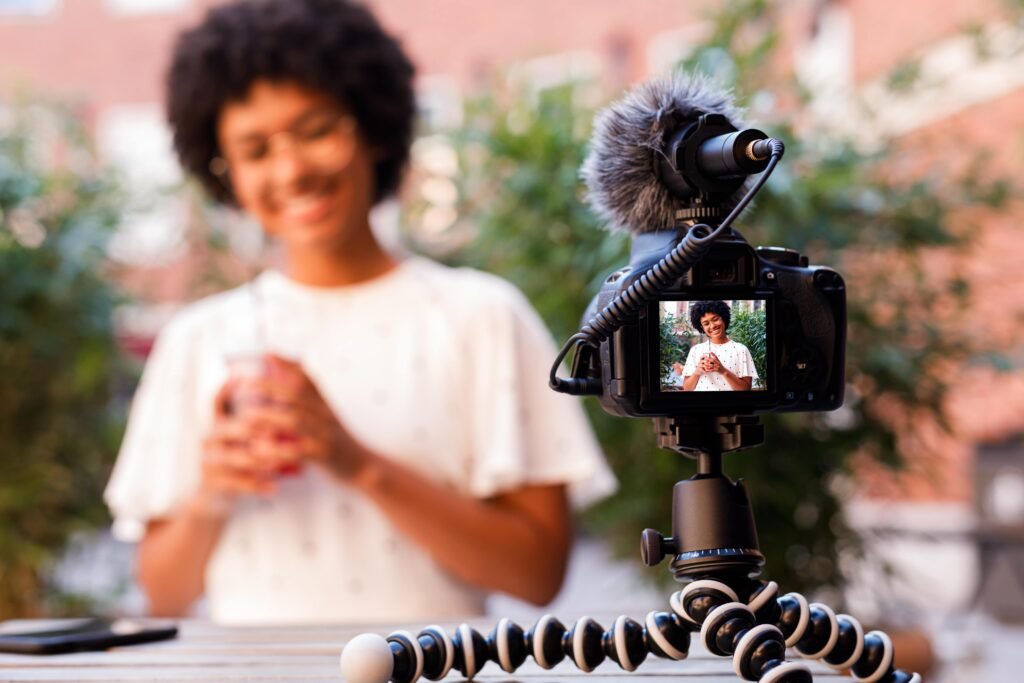
Step 2: Choose the Right Equipment for Recording
You don’t need a Hollywood studio, but having the right equipment ensures clear video and audio quality.
1. Camera Options
- Webcam (Best for beginners): A good HD webcam like the Logitech C920 provides sharp video.
- Smartphone (Budget-friendly, great quality): Modern iPhones and Androids can record in 1080p or 4K.
- DSLR or Mirrorless Camera (For high-end production): Cameras like the Sony A6400 or Canon M50 provide professional-quality videos.
For more in-depth guidance, read this complete guide on choosing the best microphones and cameras to make sure you’re using the right gear.
2. Microphone for Clear Audio
Audio quality is even more important than video quality. A poor microphone makes lessons hard to follow.
Recommended microphones:
- USB Lavalier Mic – Rode SmartLav+ (Great for beginners).
- USB Condenser Mic – Blue Yeti (Best for desk recording).
- Wireless Lavalier Mic – Rode Wireless GO II (For more mobility).
3. Lighting for a Professional Look
Good lighting enhances video quality without needing an expensive camera.
- Natural Light – Record near a window for free, soft lighting.
- Ring Light – Budget-friendly and improves facial lighting.
- Softbox Lights – For a more professional studio look.
4. Screen Recording Software (For Tutorials & Presentations)
If you’re teaching with slides, tutorials, or coding demos, a screen recording tool is essential.
Popular options include:
- Camtasia – Powerful editing + screen recording in one.
- OBS Studio – Free and great for high-quality recording.
- Loom – Simple browser-based recording with a webcam overlay.
Step 3: Setting Up Your Recording Space
Your environment impacts video quality and student experience.
- Choose a quiet space – Avoid background noise (use a carpet, curtains, or foam panels to absorb echo).
- Declutter your background – A clean, professional-looking space improves credibility.
- Use a neutral or branded backdrop – A solid-colored wall, bookshelf, or simple background works best.
Test your setup before recording to ensure good lighting, clear audio, and a distraction-free background.
Step 4: Recording Your Video Lessons
1. Position Your Camera Properly
- Keep the camera at eye level for a natural look.
- Maintain good framing (head and shoulders visible, centered in the shot).
- Look at the camera lens instead of the screen to engage with students.
2. Speak Clearly and Naturally
- Maintain a steady pace (don’t rush).
- Use voice variation to keep energy high.
- Pause between points for clarity.
- Smile – It makes your delivery more engaging.
3. Record in Short Takes
Instead of recording a long 30-minute video in one go, break it into smaller sections. This makes editing easier and reduces mistakes.
If you make a mistake, pause for a few seconds, take a deep breath, and restart from the last good section. You can edit mistakes out later.
Step 5: Editing Your Video Lessons
Editing helps remove mistakes, improve pacing, and add visuals to make lessons engaging.
1. Choose an Easy-to-Use Editing Software
Beginner-Friendly Tools
- iMovie (Mac) – Simple drag-and-drop editing.
- Windows Video Editor – Built-in basic editing tool.
- Camtasia – Great for beginners recording screen tutorials.
Advanced Editing Tools
- Adobe Premiere Pro – Industry-standard professional editing.
- Final Cut Pro – Best for Mac users.
- DaVinci Resolve – Free, powerful video editing software.
2. Trim Mistakes & Improve Pacing
- Cut out long pauses and filler words (“um,” “uh,” “you know”).
- Remove background noise using noise reduction tools in your editor.
- Break long videos into shorter clips for better engagement.
3. Add Visual Enhancements
Enhance learning by adding visuals such as:
✔️ Text overlays to highlight key points.
✔️ Slide presentations for structured lessons.
✔️ B-roll footage (extra video clips) to add variety.
✔️ Annotations and arrows to point out important elements.
Step 6: Upload and Optimize Your Videos for Your Course Platform
Once your videos are ready, upload them to your online course platform (Teachable, Thinkific, Kajabi, or Udemy).
To maximize engagement, follow these tips:
- Use clear titles & timestamps so students can navigate easily.
- Write a compelling video description summarizing key takeaways.
- Add subtitles or captions to improve accessibility.
- Include downloadable PDFs, worksheets, or exercises to reinforce learning.
To provide even more value to students, consider creating workbooks and PDFs as additional learning resources.
Final Thoughts
Creating high-quality video lessons takes planning, practice, and the right tools, but it dramatically improves the learning experience for students.
To recap:
✔️ Plan your content with clear objectives and scripts.
✔️ Use good recording equipment (camera, mic, and lighting).
✔️ Choose a distraction-free setup for professional-looking videos.
✔️ Record in short takes to make editing easier.
✔️ Edit videos to remove mistakes, add visuals, and improve engagement.
✔️ Optimize and upload videos to your course platform.
By following these steps, you’ll create engaging, professional-quality video lessons that make your online course stand out. Now, it’s time to hit record and start creating!


