I still remember the first time someone tried to buy from my store and couldn’t.
They messaged me on Instagram: “Hey, I’m clicking checkout, but it just loads forever.” My heart sank. Turns out, I hadn’t connected Stripe correctly.
That’s the day I learned that payment processing integration isn’t just a “technical thing”, it’s everything.
If people can’t pay easily, they won’t buy. Full stop.
Here’s the no-fluff guide to integrating payment processors like Stripe, PayPal, and others into your online store and how to make it all run smoothly.
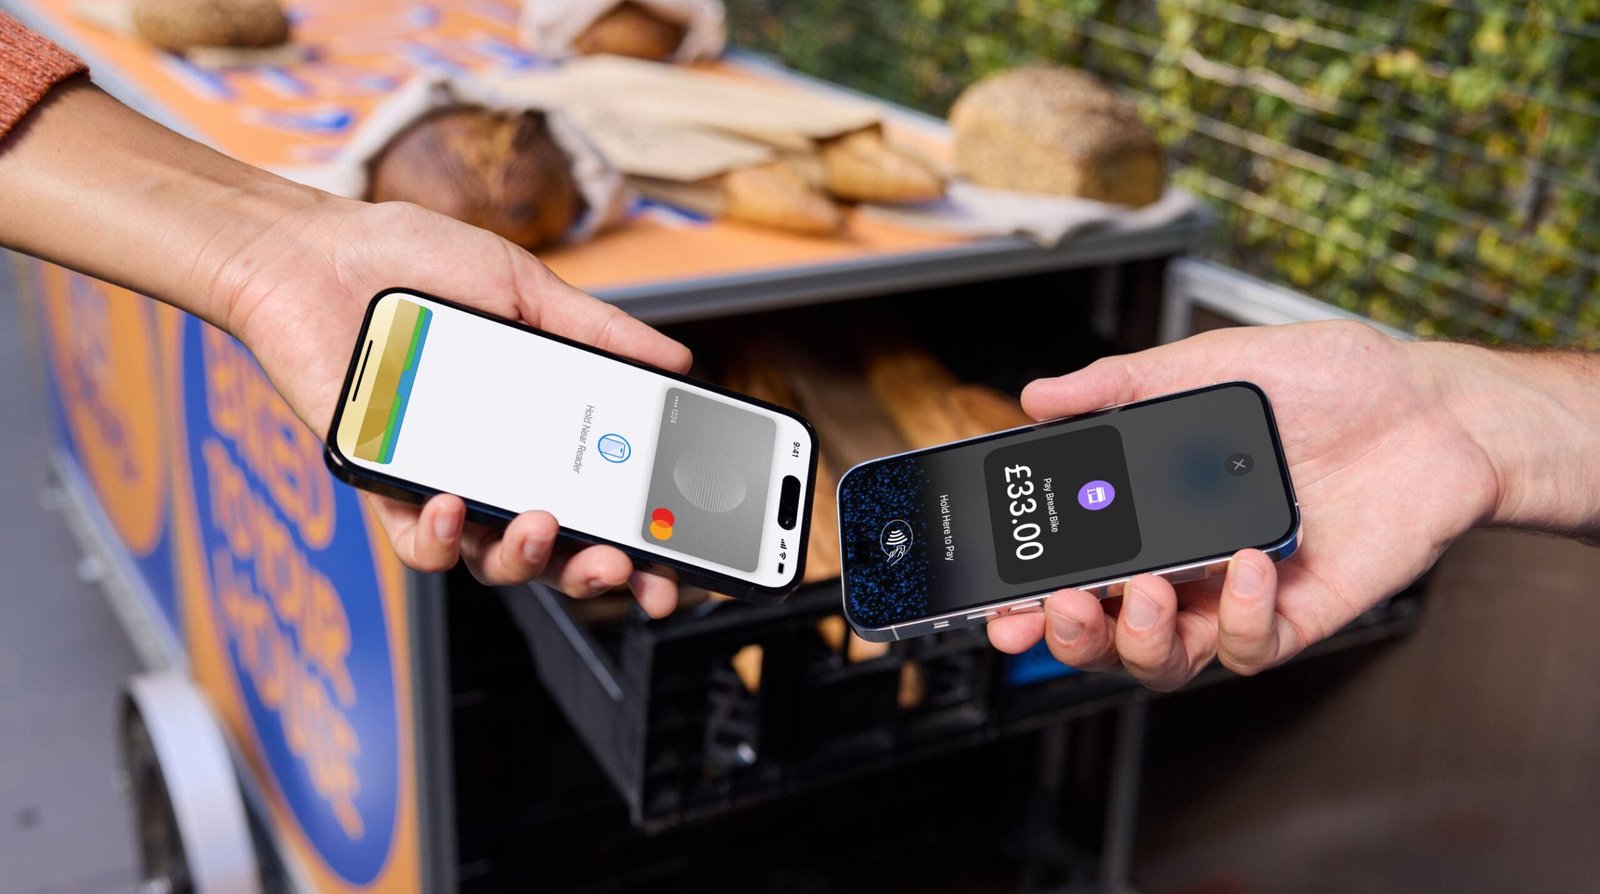
What Is Payment Processing Integration, Really?
At its core, it’s the connection between your online store and the tool that lets you accept payments — credit cards, PayPal, Apple Pay, even “buy now, pay later” services.
Without it, you’re not selling, you’re just window shopping.
Good integration means:
-
Payments are fast and secure
-
Customers get confirmation emails instantly
-
The checkout feels seamless and trustworthy
When it works, no one notices. When it doesn’t? You’ll hear about it real quick.
Choosing the Right Payment Gateway
There’s no one-size-fits-all solution. I’ve used several over the years, and here’s what I’ve learned:
-
Stripe: Clean, developer-friendly, great for credit cards worldwide
-
PayPal: Super familiar to customers, but sometimes glitchy on mobile
-
Square: Great for in-person + online selling
-
Klarna/Afterpay: Useful if you’re selling higher-ticket items
I usually offer both Stripe and PayPal. That way, customers can choose what they’re comfortable with — and it covers most countries.
Tip:
Always check what’s available in your country. Some providers aren’t supported everywhere.
How I Integrated Payments Into My Store?
I’ve used Payhip, Shopify, and WooCommerce. Here’s how it went.
1. Payhip
Couldn’t be easier. Just:
-
Go to “Settings > Payment Info”
-
Connect your Stripe and/or PayPal account
-
Done
Everything else (like email receipts, VAT handling, and checkout design) is baked in.
2. Shopify
More complex, but powerful. You can use:
-
Shopify Payments (default for credit cards)
-
Or third-party gateways like PayPal or Authorize.net
Setup is through the “Payments” section in your admin dashboard. Just be sure to test your checkout thoroughly.
3. WooCommerce
Definitely the most flexible and most technical. You’ll need to:
-
Install Stripe or PayPal plugin
-
Enter your API keys
-
Configure checkout settings manually
Takes more time, but you can tweak nearly everything.
Optimizing Checkout for Conversions
Once your payment gateway is live, you’re not done. Now you need to optimize it. Here’s what moved the needle for me:
-
Use one-page checkout if your platform allows
-
Offer guest checkout — not everyone wants to make an account
-
Add trust badges (SSL secure, money-back guarantee)
-
Use clean, simple buttons (“Complete Purchase” > “Submit”)
-
Make sure it works on mobile — test it yourself!
Mistakes I’ve Made (So You Don’t Have To)
-
I launched without testing. Lost 3 sales before I realized checkout was broken. Always test using sandbox tools or small $1 test products.
-
I forgot about confirmation emails. People panicked thinking their order didn’t go through.
-
I didn’t set up SSL. Red “Not Secure” warning scared off buyers.
-
I only offered PayPal. Turns out not everyone uses it, Stripe is essential.
-
I ignored international customers. A few folks couldn’t check out because my gateway didn’t support their card types.
Tools That Helped Me Out
-
Stripe Test Mode: For checking every step of the process
-
PayPal Sandbox: Great for simulating real orders
-
Zapier: Automated my follow-up emails post-purchase
-
Canva: Made trust badges and button graphics
-
Google PageSpeed: Ensured my checkout loaded fast on mobile
Final Thoughts
Payment processing integration isn’t just some backend task you check off a list. It’s a critical part of the customer journey and the moment where money actually changes hands.
If there’s any friction, you’re going to lose people. But once it’s set up right? You’ll never have to think about it again, just watch the sales roll in.
So take the extra hour. Connect it properly. Test it twice. And make your checkout experience something you don’t hear about from your customers because it just works.


