Let me paint a picture for you. It’s 7:58 AM, you’re working remotely, and your Zoom call starts in two minutes.
You’re sipping coffee in your pajamas, and suddenly you remember you’re supposed to be on the company VPN to access shared files securely. Cue the panic, the scrambling, and the inevitable tech support Slack message: “Hey… how do I connect to the VPN again?”
Yeah, I’ve been there too. More than once.
That’s why every remote worker should have a VPN setup that just works. Not one that needs you to be an IT wizard. So here’s my 3-step, no-fuss guide to getting your VPN up and running.
Step 1: Choose the Right VPN for Remote Work (Not All Are Equal)
The first mistake I made was assuming all VPNs are the same. Spoiler: they’re not.
Your free browser extension? Probably not secure. Your cousin’s “totally legit” VPN from Reddit? Yeah… let’s just say I learned the hard way.
What you actually want is a VPN that’s:
-
Reliable (doesn’t randomly disconnect).
-
Fast (nobody wants a laggy Zoom call).
-
Secure (end-to-end encryption is non-negotiable).
-
Cross-platform (so it works on your laptop, tablet, or phone).
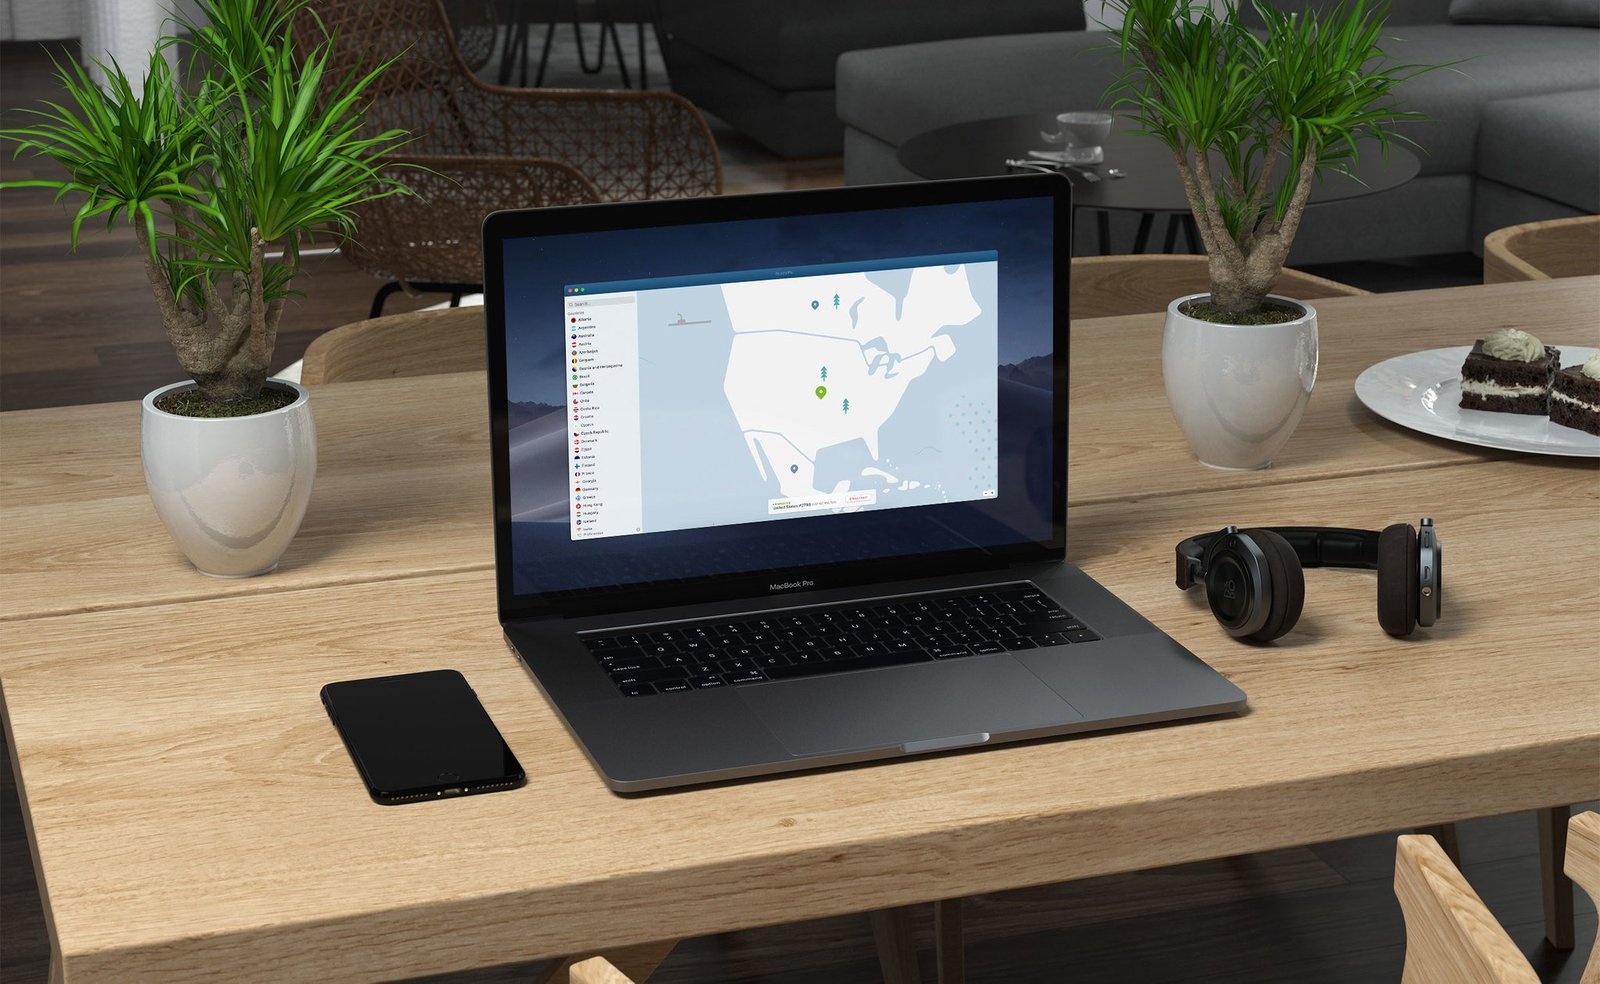
Personally, I’ve had solid experiences with NordVPN, ExpressVPN, and for business setups, Perimeter 81. If your company has a dedicated VPN service, use that — but if you’re freelancing or managing your own business, it’s worth investing in a paid VPN.
Tip: Look for one with split tunneling so you can use the VPN for work apps and local traffic for the rest. Keeps things speedy.
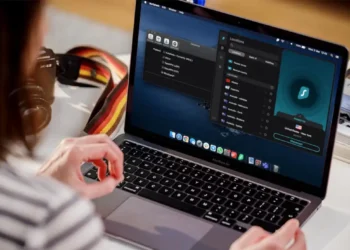
Step 2: Install and Configure (Takes Less Than 10 Minutes)
Most people get stuck here, but honestly, setup is easier than installing a printer.
-
Download the VPN app on your device (PC, Mac, or mobile).
-
Log in using the credentials provided by your VPN provider (or employer).
-
Choose your server — for remote work, pick a location close to you for speed. If you’re connecting to a company server, choose the one they’ve designated.
-
Enable auto-connect at startup. Trust me on this — you don’t want to forget every morning.
Some VPNs have a “Smart Connect” button. That’s your best friend. Click once, and boom — you’re encrypted.
I also recommend adding the VPN to your menu bar or task tray, so it’s always just a click away. You’d be surprised how often I’ve forgotten I was disconnected until I noticed the little icon wasn’t glowing.
Step 3: Test Your VPN (Because “It’s Working” Isn’t Always Working)
Once it’s set up, don’t assume it’s all good. Test it.
Here’s what I do:
-
Visit whatismyipaddress.com before and after connecting. If your IP changes, your VPN is working.
-
Try opening work files or accessing shared drives. If you can’t, check if your company has whitelist settings.
-
Run a speed test. Tools like Speedtest.net help you gauge if the VPN is slowing you down too much.
Also, be on the lookout for DNS leaks. Some VPNs let your ISP still see your activity, which defeats the whole purpose. Use a tool like DNSLeakTest.com to double-check.
If anything seems off? Reconnect, update the app, or switch servers. And don’t be afraid to hit up support. That’s what they’re paid for.
Final Thought
Setting up a VPN isn’t just about checking a box for security compliance — it’s about peace of mind. Once you’ve got it dialed in, it becomes part of your remote work routine, like opening Slack or muting your mic.
And look, you don’t have to be a tech expert to get this right. Just follow these three steps: pick a good VPN, set it up properly, and test it to make sure it’s working.


